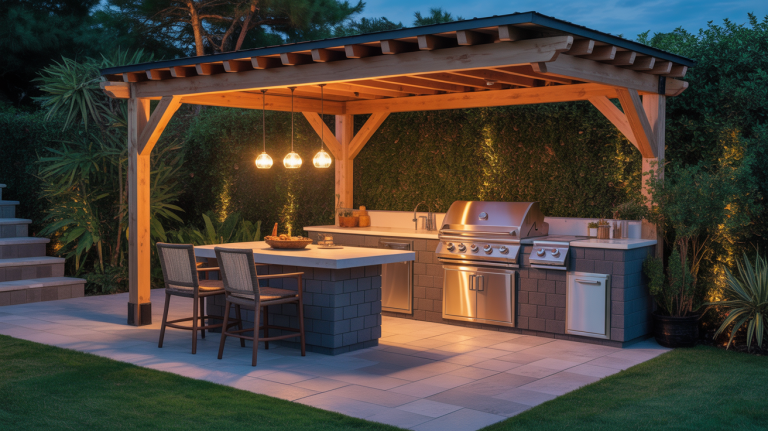
This $25 DIY project replaced my $800 outdoor feature (and looks better)

Curious how a $25 DIY project can completely transform your outdoor space and outshine costly store-bought features? Here’s why ditching that $800 item for a budget-friendly, personalized creation was my game-changer. All it took was a weekend, some creativity, and the drive to finally have a backyard that feels totally ‘me’—without draining my savings.
Ready to see how you can do the same?
Why I Swapped Out My Pricey Outdoor Feature for a DIY Version
When I decided to swap out my pricey outdoor feature for a DIY version, it was all about personalization and budget. I was tired of the steep prices and the generic look that didn’t reflect my unique style. Creating something on my own meant I could tailor every aspect to what I truly wanted, ensuring it perfectly complemented my outdoor decor while keeping costs low.
My journey began with a scroll through Pinterest, where I stumbled upon an array of DIY success stories that immediately sparked my interest. The high costs, complicated installations, and ongoing maintenance of store-bought outdoor features had always been a source of frustration for me. Inspired by a friend’s recent DIY triumph, I was motivated to take control of my outdoor space, making it both a reflection of my personal aesthetic and a testimony to my handiwork.
The result? Not only did I save hundreds of dollars, but I also gained a charming, customized outdoor piece that stands out. This project was a game-changer, proving that with a little creativity and determination, transforming your space doesn’t have to break the bank or sacrifice style.
Step-by-Step Guide to the $25 Outdoor DIY Project
Materials and Tools: For this budget-friendly outdoor project, you’ll need a few simple items: wooden pallets, sandpaper, paint or stain, and sealant. Most of these can be sourced from around the house or bought cheaply from a local hardware store. Optionally, add some outdoor cushions for comfort, which you can find on sale or make from fabric scraps.
Step-by-Step Instructions: First, sand down the wooden pallets to prevent splinters. Next, paint or stain them in your chosen color. I went with a bright teal for a pop of color in my garden. Once dry, apply a weather-resistant sealant to protect your handiwork from the elements. Finally, arrange the pallets to form a cozy outdoor seating area. Add cushions for an extra layer of comfort, and you’re done!
Personal Touch: What made this project special was the personal touches. For instance, I stenciled a floral design onto the center pallet to give it a unique twist. You can also personalize your project by using stencils or attaching decorations like string lights or planters. This not only adds functionality but also brings a piece of your personality into the outdoor space.
Comparing Results and Real-Life Benefits
After wrapping up the DIY project and comparing it to the original $800 outdoor feature, the differences were both surprising and enlightening. Here’s a quick rundown:
- Cost: The DIY version cost me just $25, a drastic drop from the $800 I would have spent otherwise.
- Appearance: My DIY feature actually looks more personalized and charming, blending perfectly with the garden.
- Durability: While the original might have used higher-end materials, my selection is holding up well so far.
- Maintenance: I’ve found the DIY feature easier to maintain, possibly because I understand exactly how it’s put together.
The project wasn’t without its surprises; for instance, the durability of cheaper materials was a big plus, something I hadn’t expected. If I were to do this again, I’d spend a little more time planning the design for even better integration with my outdoor space. My friends and family were impressed by the transformation, and their positive reactions have been a real confidence booster!
For those of you considering a similar venture, don’t be afraid to take the leap. It’s a rewarding process that can yield fantastic results without breaking the bank. For further inspiration, check out other budget-friendly outdoor DIY projects like building a simple fire pit or crafting a garden pathway. These projects can enhance your outdoor area just as effectively, and with a personal touch that truly makes the space your own.
These moments show just how empowering it can be to take design into your own hands—combining creativity, savings, and a true reflection of your personal style. What’s stopping you from tackling a project and making your space uniquely yours? Sometimes, a weekend of DIY is all it takes to fall in love with your home again.